Pre-Install Assessment and Specification
- Deck inspection. We verify substrate type (typically 22-gauge steel deck, plywood, or structural concrete), check for corrosion, soft spots, and fastener pull out values. Minimum acceptable pull out is 240 lbf for #12 fasteners into steel deck.
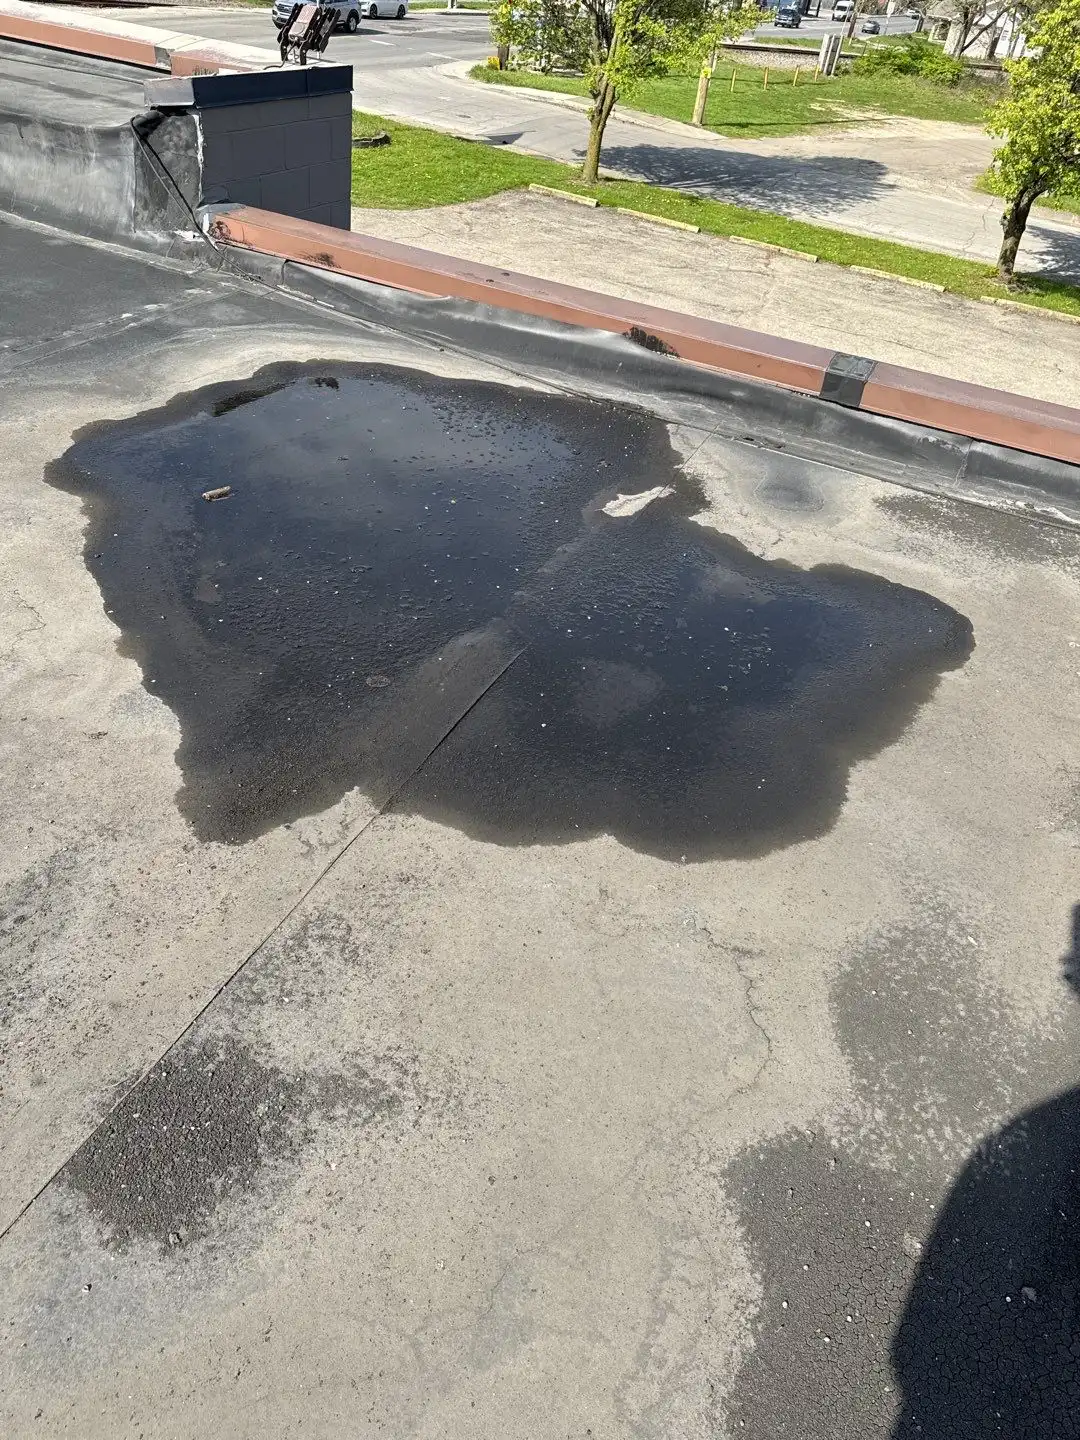
- Slope confirmation. Standing seam requires a minimum 1/4:12 slope for mechanically seamed profiles and 3:12 for snap lock. We measure across four quadrants and document any ponding areas needing taper.
- Panel selection. For Lowell commercial work we typically specify 24-gauge Galvalume or Kynar-500 PVDF coated steel, 16 to 18 inch panel widths, 1.5 to 2 inch seam height.
- Wind uplift calculation. Per ASCE 7, we calculate field, perimeter, and corner zone uplift pressures. Most Lowell buildings fall in the 90 to 115 mph design wind speed range, dictating clip spacing.
- Thermal movement allowance. A 40 foot panel run can expand or contract up to 1/2 inch across the seasonal range in Lowell. We specify floating clips for any run over 30 feet and document fixed point location (typically eave or ridge depending on slope).
- Coating and color verification. Confirm PVDF film thickness at 0.7 to 0.9 mils dry, verify color chip match against mill cert, and reject any coils showing chalking or scratches deeper than the primer.
Tear-Off and Deck Preparation
- Remove existing roofing in sections no larger than what can be dried in the same day. Active leaks get priority tarping during this phase, similar to the triage we describe in our first hour water emergency walkthrough.
- Sweep and vacuum the deck. Any debris under the underlayment will show as a high spot through the panel.
- Replace damaged deck sections. Acceptable deflection under 200 lb point load is less than 1/4 inch.
- Install peel and stick high temp underlayment rated to 240F minimum. Lap seams 4 inches sidelap, 6 inches endlap. Roll with a 75 lb roller for full adhesion.
- Install ice and water shield at all eaves, valleys, and penetrations, extending 24 inches inside the warm wall line.
- Tape all deck flute openings at perimeter and curbs with foil tape to prevent underlayment sag and pinholing during install.
- Verify deck moisture content under 18% before any underlayment application. Wet deck telegraphs through to the panel and voids most coating warranties.
Penetrations and Curb Flashing
- Lay out all penetrations before panel installation. Curbs over 12 inches wide require an upslope cricket.
- Fabricate curb flashings with 8 inch upslope flange, 4 inch sides, hemmed downslope drip.
- Pipe boots: use EPDM boots rated to 250F for metal panels. Avoid silicone in this application.
- Set all flashings in butyl tape and mechanically fasten through the panel rib, never through the pan.
- Group small penetrations into a single curb where possible. Each individual flashing is a long term maintenance point.
Final Inspection Checklist
- Walk every seam top to bottom, verify full engagement.
- Check torque on all exposed fasteners (typically 35-45 in lbs).
- Confirm all sealant beads continuous, no skips.
- Document with photos for warranty submission. Detailed scope and pricing for the full system is covered in our commercial metal roofing install service page.
- If you also need a comparison against single ply options, our standing seam vs corrugated breakdown covers the decision logic.
- Submit closeout package including mill certs, coating warranty registration, fastener pull test results, and as built clip layout drawings.
Clip Layout and Panel Setting
- Clip spacing. Field zone: 24 inches on center. Perimeter zone (10% of width): 18 inches. Corner zone: 12 inches. Clips fastened with two #12 self drilling screws minimum.
- First panel. Set the starter panel against rake trim, verify square at three points along its length, then fasten clips to deck. Engage panel into clips and verify seated position with audible click for snap lock or pre formed engagement for mechanical seam.
- Subsequent panels. Set each panel hand tight into the prior seam, walk the length, then fully engage. Check for oil canning by sighting down the pan after every fifth panel.
- Endlaps. When panel runs exceed 40 feet, stagger endlaps minimum 24 inches. Seal endlap with two beads of tripolymer sealant and six rivets across the panel.
- Panel handling. Carry panels on edge, never flat. Use suction cups or padded gloves to prevent finger oils from etching the Kynar finish. Reject any panel with a kink deeper than 1/32 inch in the flat.
- Daily progress check. Every 10 panels, measure cumulative coverage against theoretical width. Drift over 1/8 inch per 10 panels requires correction before continuing.
Seaming Operation
- For mechanical seam panels, run the seaming machine across each seam in two passes. First pass at 90 degrees, second pass at 180 degrees for full lock.
- Verify seam height with go/no go gauge every 20 feet.
- Hand seam the first and last 12 inches of every seam where the machine cannot reach.
- Keep the seamer clean and lubricated per the manufacturer schedule. A dry seamer rolls inconsistent profiles and can score the coating.
- Do not seam below 40F panel temperature without the manufacturer cold weather addendum. Brittle folds at the rib root are the most common cause of warranty rejection.
Standing Seam Install: Phase Duration on a 20,000 sq ft Commercial Roof
Ranges reflect typical Central Indiana conditions and assume cooperative weather windows.
Ridge and Hip Detail
- Install Z-closures at the top of each panel.
- Set vented ridge cap with 1 inch overhang each side, fastened 12 inches on center into the rib.
- Apply outside foam closures between ridge cap and panel profile.
- For ventilated assemblies, confirm net free area matches the soffit intake within 10 percent. Imbalanced ventilation drives condensation on the panel underside.
Quality Control During Install
- Lowell Commercial Roofing runs a daily three point check: clip engagement, seam height, and fastener torque on a random sampling of 5 percent of the day's work.
- Any failed sample triggers a 100 percent re check of that day's run before the crew moves on.
- Photographs are logged by panel number and grid coordinate for warranty traceability.
- Severity of any in progress leak found during tear off is assessed over the phone with the building owner, with tarping and dry in prioritized before crews resume panel work.
Trim and Edge Detail Layout
- Snap chalk lines for eave, rake, and ridge before any panel is set. Square the field using the 3-4-5 method off the longest eave.
- Install eave trim (drip edge) with hemmed front edge, fastened 12 inches on center with gasketed pancake head screws.
- Set rake trim cleats every 16 inches.
- Install valley pan with 12 inch flange each side, hemmed edges, set in butyl sealant tape.
- Splice trim lengths with a 4 inch backer plate and double bead of tripolymer sealant. Avoid butt joints over panel seams.
- Pre bend all trim on a 10 foot brake to factory tolerances (plus or minus 1/16 inch). Field bent trim shows waves under low angle light.